I choose to make my own soymilk for several reasons. #1 being that I can use a traditional system, utilizing soaking and organic non-GMO soybeans #2 being that I don’t want the preservatives, added vitamins and minerals of unknown origin or anything else in my soymilk. Fresh and naked please. #3 would be cost. The cost of 1 batch of soymilk for me is approximately $1. That’s for a full 2 Liters of super creamy, protein rich soy milk. This same 2 Liters could be diluted to 1 gallon for a more comparable product to most commercial soymilks, (which may be the way to go for using on cold cereal etc.). Pretty good compared to $3.50-$4.50 per 1.89 Liter carton from the store.
What can you do with homemade Soymilk?
Make Lattes, hot chocolate or chocolate milk. Sweeten and use as a beverage or coffee creamer. Use in place of milk in baking or pretty much any recipe. Use in place of eggs in some recipes. Make your own tofu. Make non-dairy yogurt or buttermilk by culturing it. If you are not used to the taste of fresh soy milk, you may need to use a lot of sweetener and other flavourings. Vanilla Soymilk is a common favorite, and it can be as easy as adding vanilla syrup to the finished milk. You can also use your choice of natural sweetener such as agave or dates.
You can get used to the natural taste and even love it, but it might be strange at first. I find it familiar and neutral compared to coconut, almond or even cashew milks in many applications. The trick is not to use it plain in something that it will overpower. For instance, don’t try to use it in an unsweetened tea or coffee. Just don’t.
There are a lot of soy milk recipes and recipe videos out there, and I’ve seen a LOT of them. I’ve also done a LOT of experimenting and I’ve come up with a straight-forward system that works for me, and it should work for you as well.
Here is a list of the supplies you will need:
- Vitamix or other high powered blender.
- A fine mesh strainer/sieve.
- Woven cloth or nutmilk bag
- 1 gallon bucket or at least 3 qt container, pot or bowl
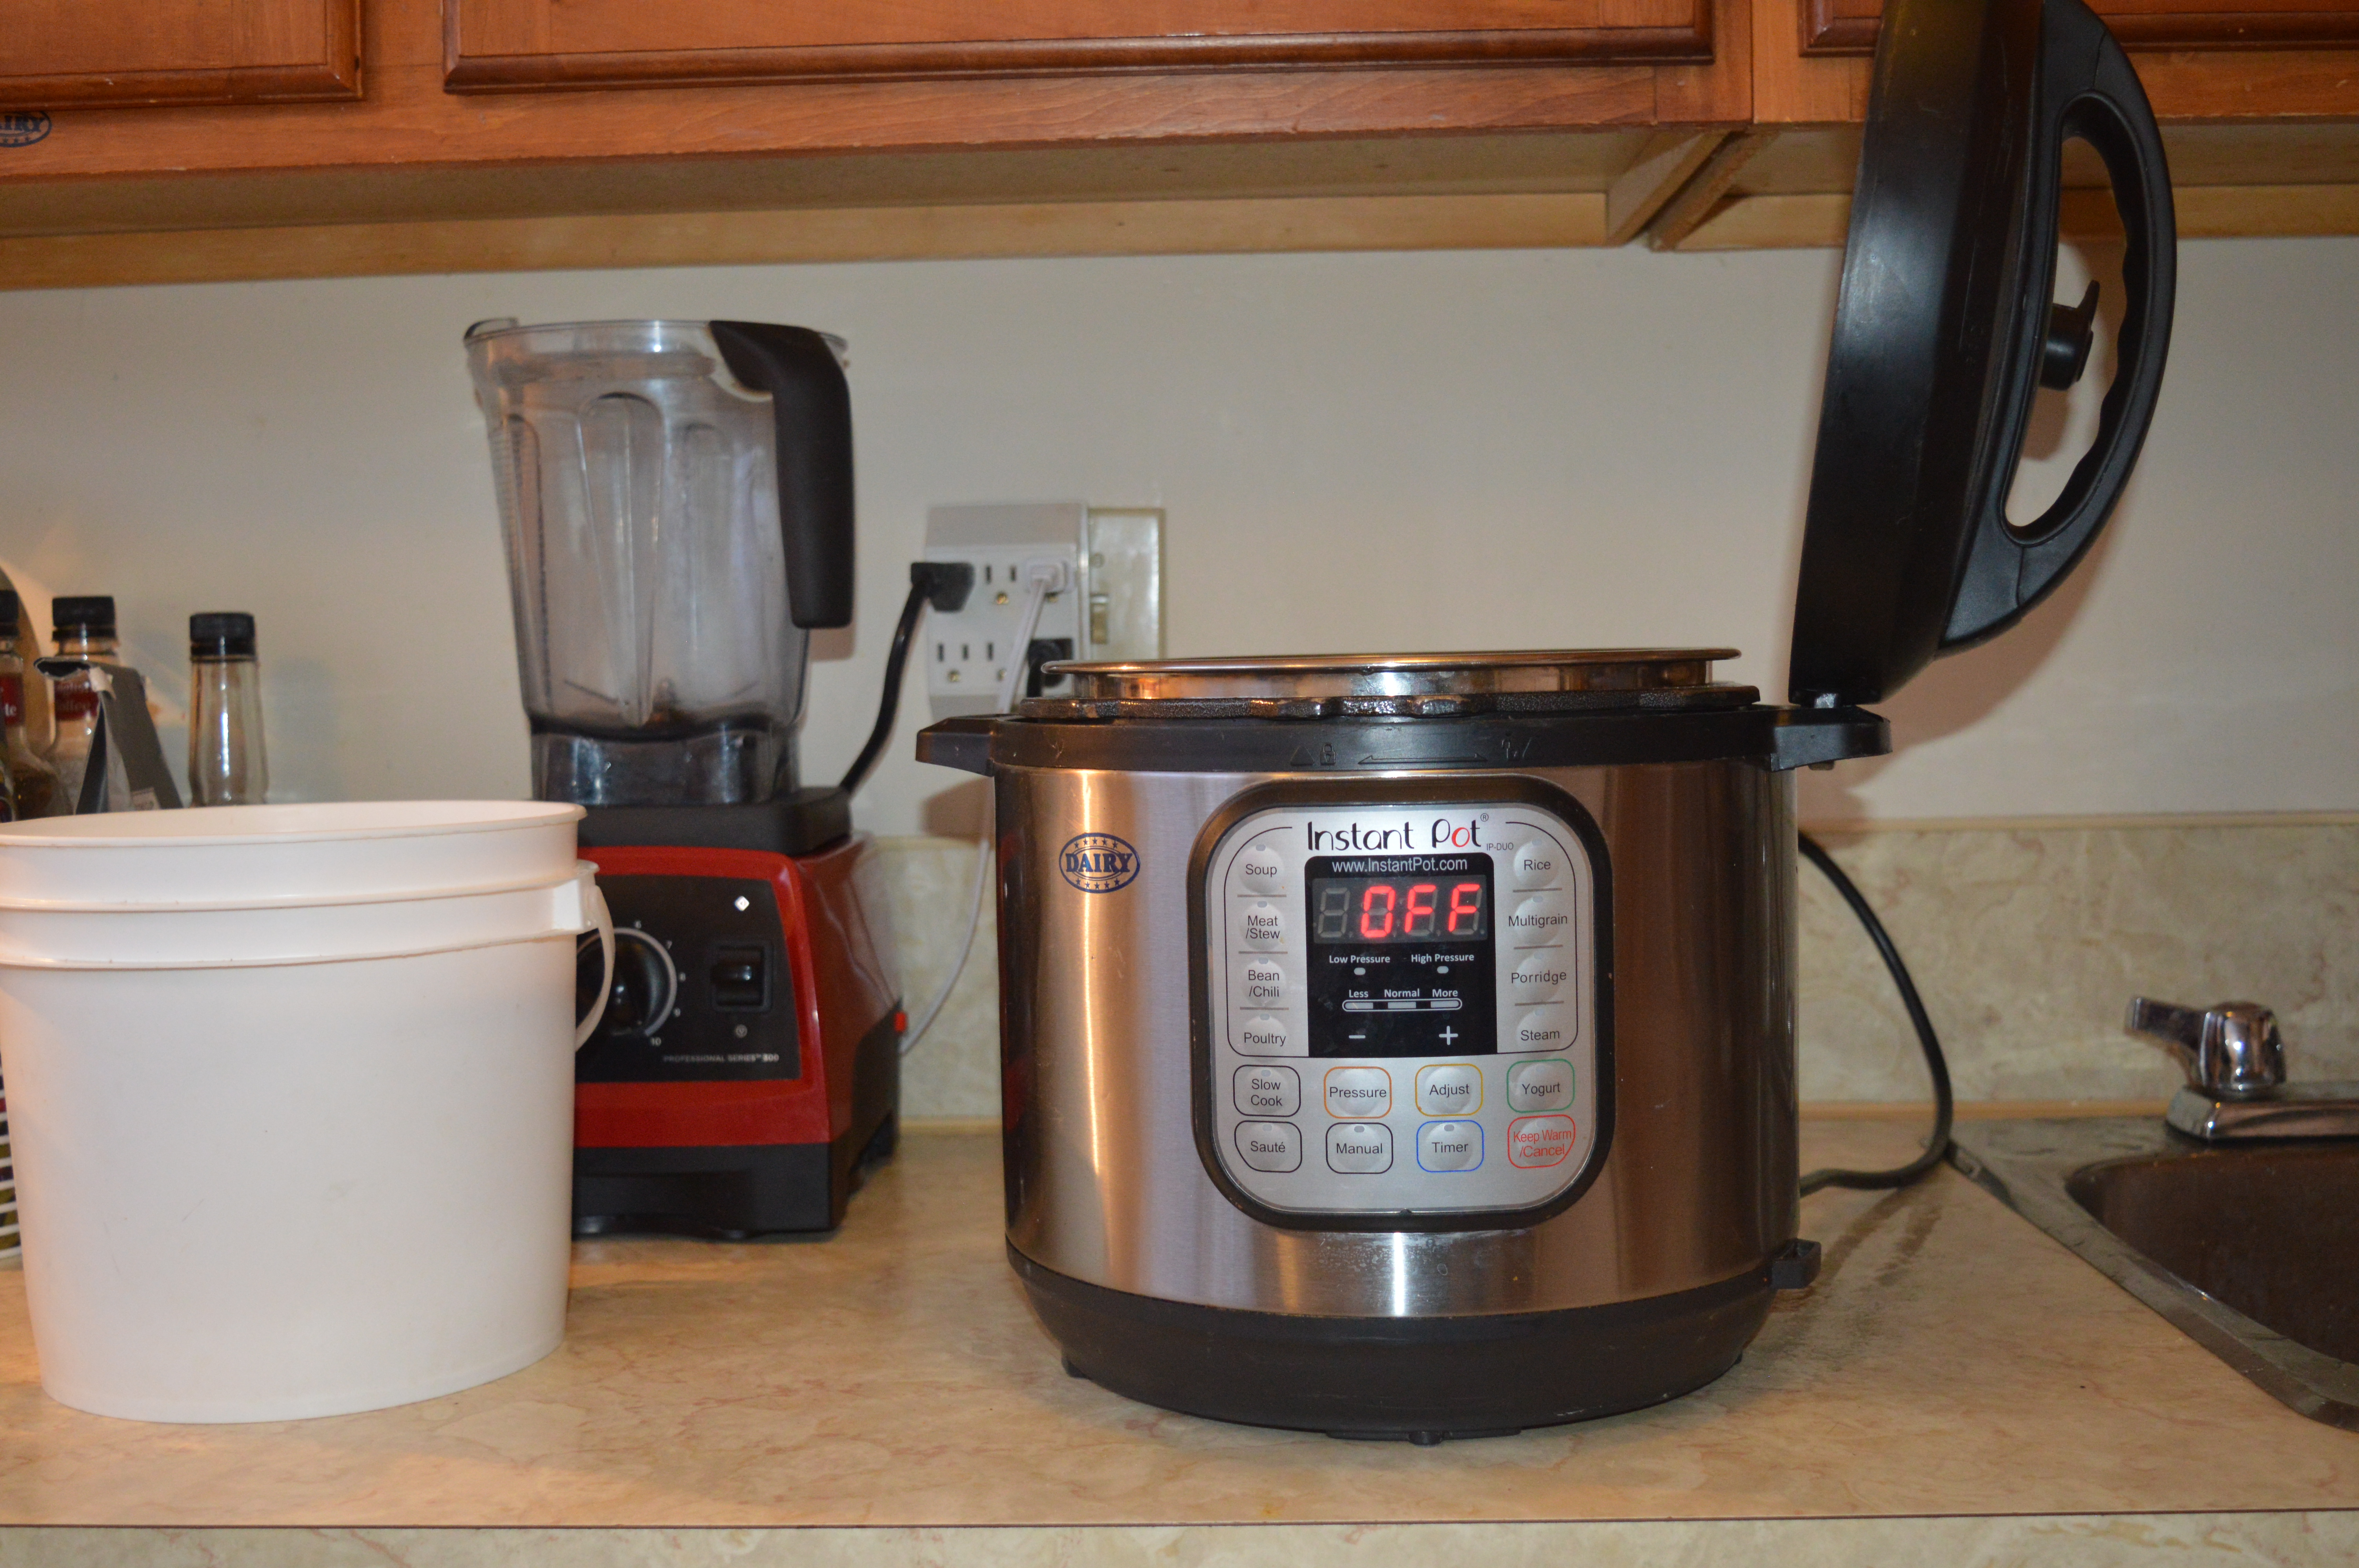
- An Instant Pot or a 2 gallon plus cooking pot with a slotted spoon
- 2 x 1 qt or 1 L jars or other 1/2 gallon container suitable for storing the milk
- 1 cup or 185 grams by weight Organic Soybeans per batch
Key points:
Always use Organic (Non-GMO) Soybeans. Not only will the taste be better, but you will hopefully avoid any negative affects that may be associated with soy studies. Traditional organic soy products have been consumed for centuries without negative effects, because traditionally people have soaked the beans, cooked and or fermented them. Many producers of (even natural) soy products do not soak their beans, because the taste can be more neutral with unsoaked beans, and it takes time to soak them. The problem is that without soaking the beans, the natural enzyme inhibitors are not fully neutralized. Soaking the beans activates appropriate “good” enzyme compounds that neutralize the inhibitors or “bad” compounds making them mostly digestible. Cooking finishes the process.
I recommend you should soak your soy beans for at least 8-12 hours or overnight up to about 24 hours. After this, they may start to sprout or produce acids that can curdle your milk, so don’t leave them to long.
The enzyme inhibitors in soybeans must be deactivated by cooking, not just soaking. Please do not ingest the soymilk or bean pulp (okara) raw.
In an Instant Pot (electric pressure cooker) I use 7 minutes (manual) high pressure with natural release. This is the easiest, but of course you can do it in a pot on the stove. Just bring the soy milk to a low boil and cook for at least 15 minutes. It will foam, so use an extra large pot and you should be prepared to remove foam with a slotted spoon to keep it from going over. Also be sure to keep stirring it to avoid it burning to the bottom.
Once it is cooked, I like to pour it into glass 1 liter jars and seal the jars with canning lids while it’s still hot. Let it cool considerably on the counter before refrigerating. I find the unopened/sealed jars keep fresh for over a week, while the opened ones can start to sour or culture within 3-4 days if not used up. Your fridge temperature will affect the time it remains fresh. If you anticipate using it more slowly, consider using half liter (1 pint) jars and sealing them while hot to keep the unopened portions fresh longer.
I find the soured soy milk to be incredibly useful as a baking ingredient, and I sometimes leave it out to intentionally cause some culturing. It usually becomes too sour and off smelling after about 2-3 weeks in the fridge, so always smell it before using in a recipe. If it smells sweet-sour-pleasant, it’s usable, even if it has seperated. If it smells rotten or if you see any mold, toss it.
Don’t bother trying to save the bean pulp, it’s not worth it. Cooking it is a pain, and it has all the bean skins in it making it taste bitter. I used to try to put it in lasagna or baking, but it really just made things hard to eat. Compost it, feed it to your chickens, find a friend with chickens or put it down your garborator. If you insist on trying some, make sure you cook it thoroughly to deactivate the enzyme inhibitors.
This recipes is for high protein (8 grams per cup) creamy soy milk, which is very close to the unsweetened Trader Joes Soy Milk, WestSoy or EdenSoy that so many people use to successfully make yogurt.
I am including the recipe here, with the intention that I will be making a video demonstration of the process.
Soymilk
Ingredients
- 1 Cup (185 g weight) dry organic soybeans soaked in 1 L water
- 2 Liters Additional water
Instructions
-
Soak soybeans overnight in water. They will grow to about triple in size, so be sure to use a 1 Liter or larger container.
-
Rinse and drain soybeans
-
Place soybeans in Vitamix with 1 Liter of water and blend on high for about 30 seconds.
-
Strain through a mesh strainer into a 3 qt or larger container. Use a spoon to scrape the bottom of the sieve to help speed things up.
-
Put the bean pulp back into the vitamix and add the other 1 Liter of water. Pulse a couple of times to combine.
-
Strain again through the mesh strainer, using the spoon to press out most of the liquid.
-
Discard the bean pulp.
-
Pour the liquid into your vitamix and see if you have 2 Liters. If not, add water to the 2 Liter mark.
-
Now, rinse your mesh strainer and 3 plus liter container and strain the liquid through using a fine cloth or nutmilk bag. This will make sure it is completely smooth.
-
Pour the soymilk into your instant pot and set it for Manual 7 minutes, Natural release. When the pressure comes down, it's ready to use hot or put into glass jars and seal for refrigeration.
Organic Matters OMfoods.com has yellow soybeans, which are supposedly the best type for soymilk. They also have raw cashews if you were looking.