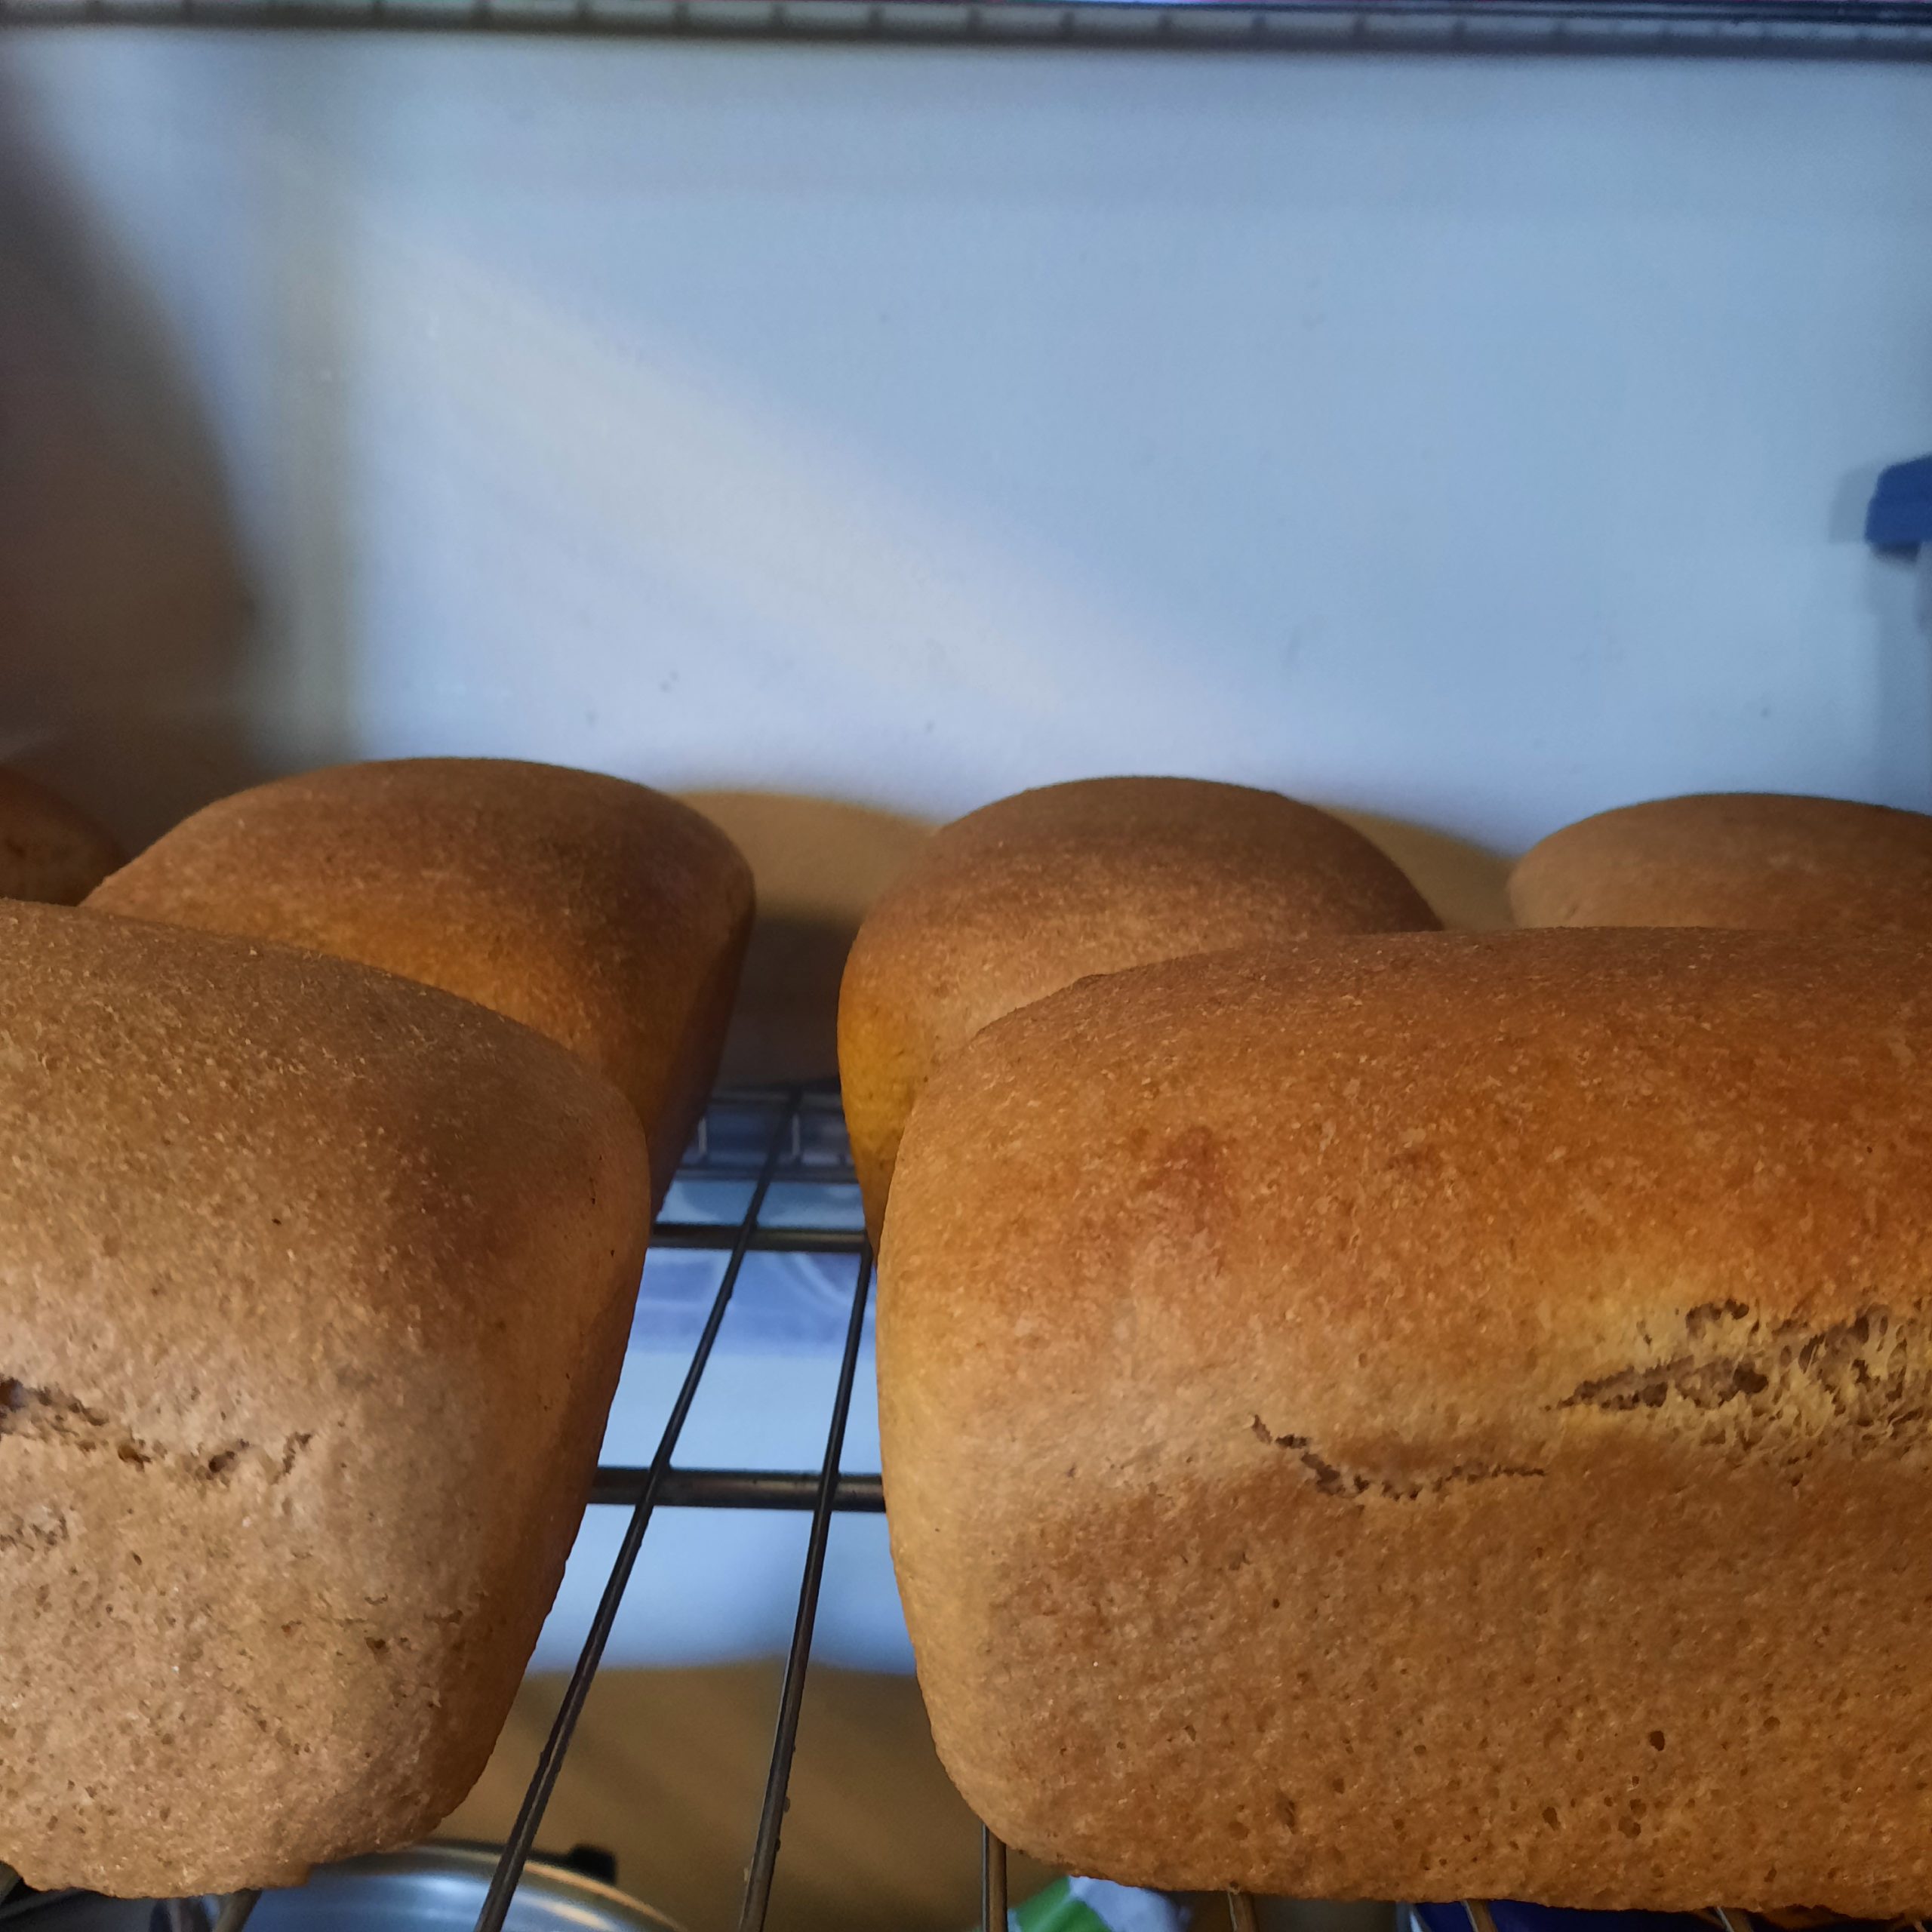
This past week, my oven went out. Actually, I was baking Challah, and the broil burner came on and burned the tops. It was a bit sad. I also had 3 pans of cinnamon rolls ready to bake, and 2 pans of cheese croissants ready to raise, but at least those could go in the freezer. We eat Challah every week on Shabbos, and I almost always have lots leftover for making sandwiches, toast and french toast. Ya know, the main bread stuff. I also have been doing a lot of home baking to avoid spending extra money on snacks, so things like muffins and cookies end up going in my kids lunches all week. Well, this week, I made a lot of pancakes, including sourdough, banana chocolate chip and combinations of the 2. I sent them as snacks. I over did it to the point where my 6 year old asked to eat oatmeal yesterday, because he was sick of pancakes. Of course, we still needed bread, and I had lots of flour, so I decided Tortillas would be the theme of the week. We ate them pretty much every day, and I got a lot better at some of the steps. I learned to make tortillas only this year, but I wasn’t really aware of some of the things I could do to go faster. I’m going to share those things here. This is not just a recipe. Yes, you should print or save the recipe portion, but I want you to take this tortilla-tutorial and learn to do this well.
Why I make my own tortillas. First, I do like saving money, and while the ingredients are cheap, the time trade off is real. It’s not cheaper from a time perspective to make your own. This is actually the case in so many things I choose to do, but in reality, I personally would rather be at my own home making tortillas with my choice of ingredients rather than working and commuting, being taxed and missing the opportunity to infuse love into our food.
Why make your own Tortillas? They taste SOOO good fresh. You can choose the ingredients that fit with your food values, like coconut oil or palm oil vs. hydrogenated soybean oil.

Flour Tortillas
Easy Flour Tortillas with coconut oil or palm shortening
Ingredients
- 12 cups Flour Unbleached
- 1.5 tbsp Baking Powder
- 1 tbsp Salt
- 1 cup Coconut Oil or Palm Shortening (I tend to prefer Palm Shortening here)
- 4.5 cups Hot water Use 3.5 cups boiling water mixed with 1 cup cold water
Instructions
-
Combine the dry ingredients.
-
Mix in the coconut oil or shortening until there aren't any big lumps.
-
Add in hot water and mix. It should be a pretty wet dough at first.
-
Mix dough 5 minutes in a mixer with a dough hook, or 5-10 minutes by hand (until smooth and elastic).
-
Form a ball and place the dough in an oiled bowl and cover with plastic wrap and let rest 20 minutes.
-
Divide into 32 balls of dough and shape them round. Cover the dough that you are not rolling so that it does not dry out. I use a large plastic container with a lid.
-
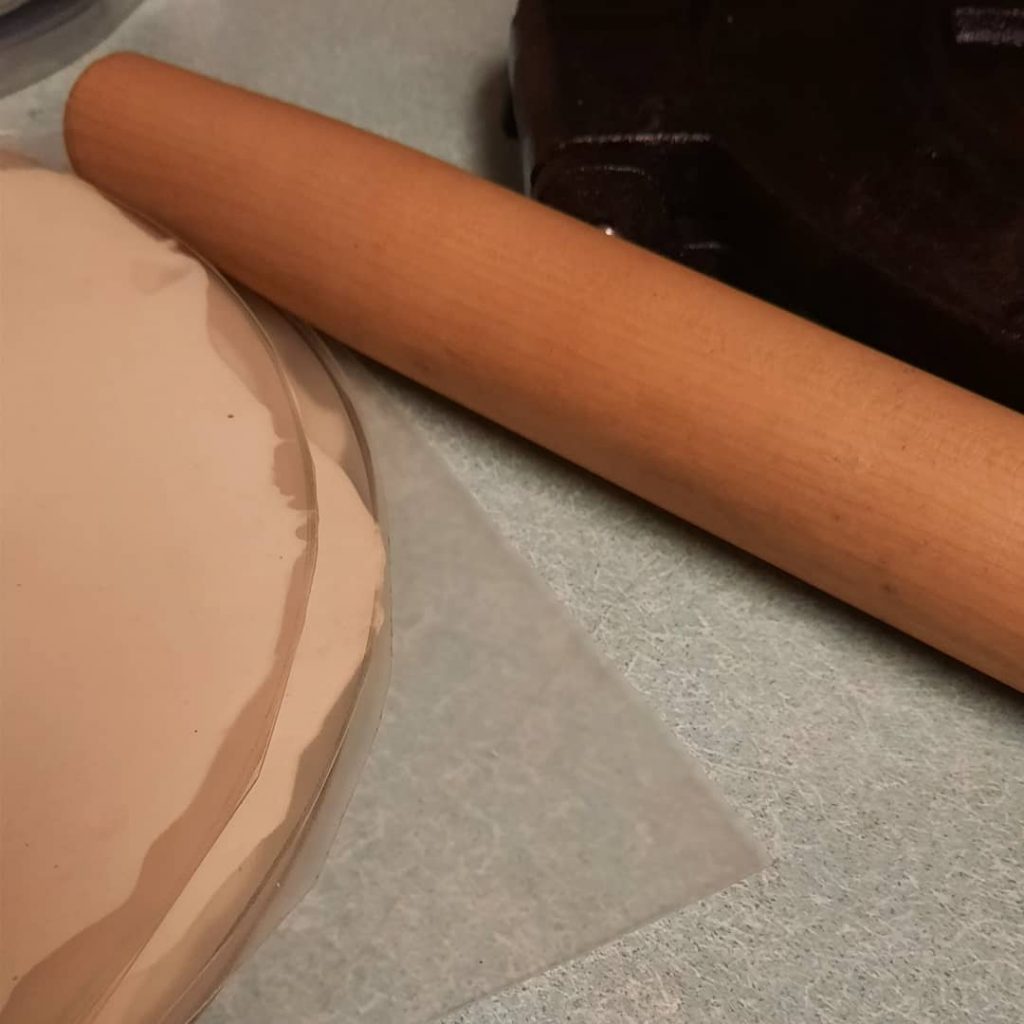
To roll the dough, use a tiny amount of flour and a rolling pin, roll as flat as you can in one direction, pick up the dough and rotate so you can roll the other direction keeping it symmetrical. I use a cast iron Tortilla press with reusable plastic sheets, cut from flexible cutting board. These Tortillas will not flatten all the way to the edges, because white flour dough is just to springy, but it will go most of the way. I find the easiest method is to finish rolling with a rolling pin. It only takes a few seconds really.
-
Heat a cast iron pan to medium low heat. Use a tiny bit of oil as needed. When you transfer the Tortilla from the counter or plastic sheet to the hot pan, it will shrink a little and it will take a little bit of practice to get it in the pan flat every time. Just do your best and learn! Cook each Tortilla for 30-60 seconds on each side. It should bubble, but still remain very light colored.
-
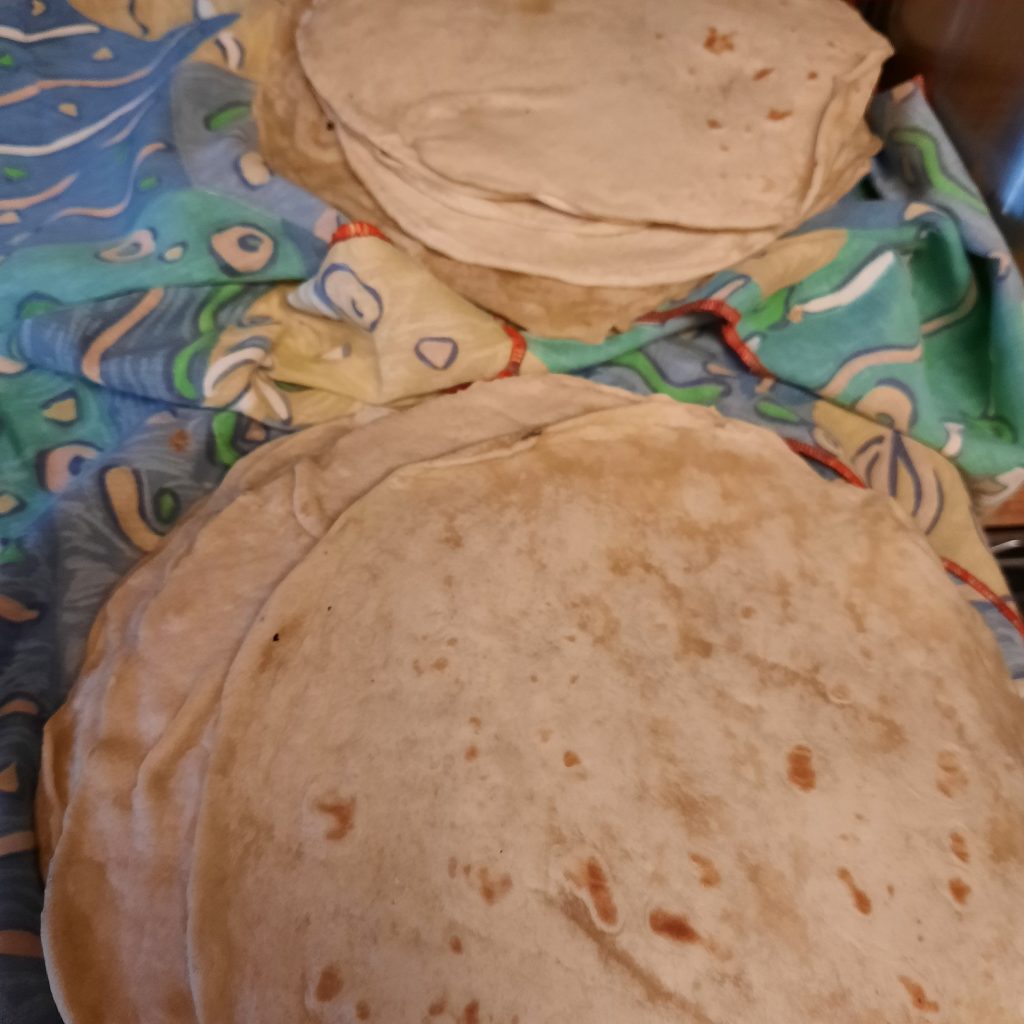
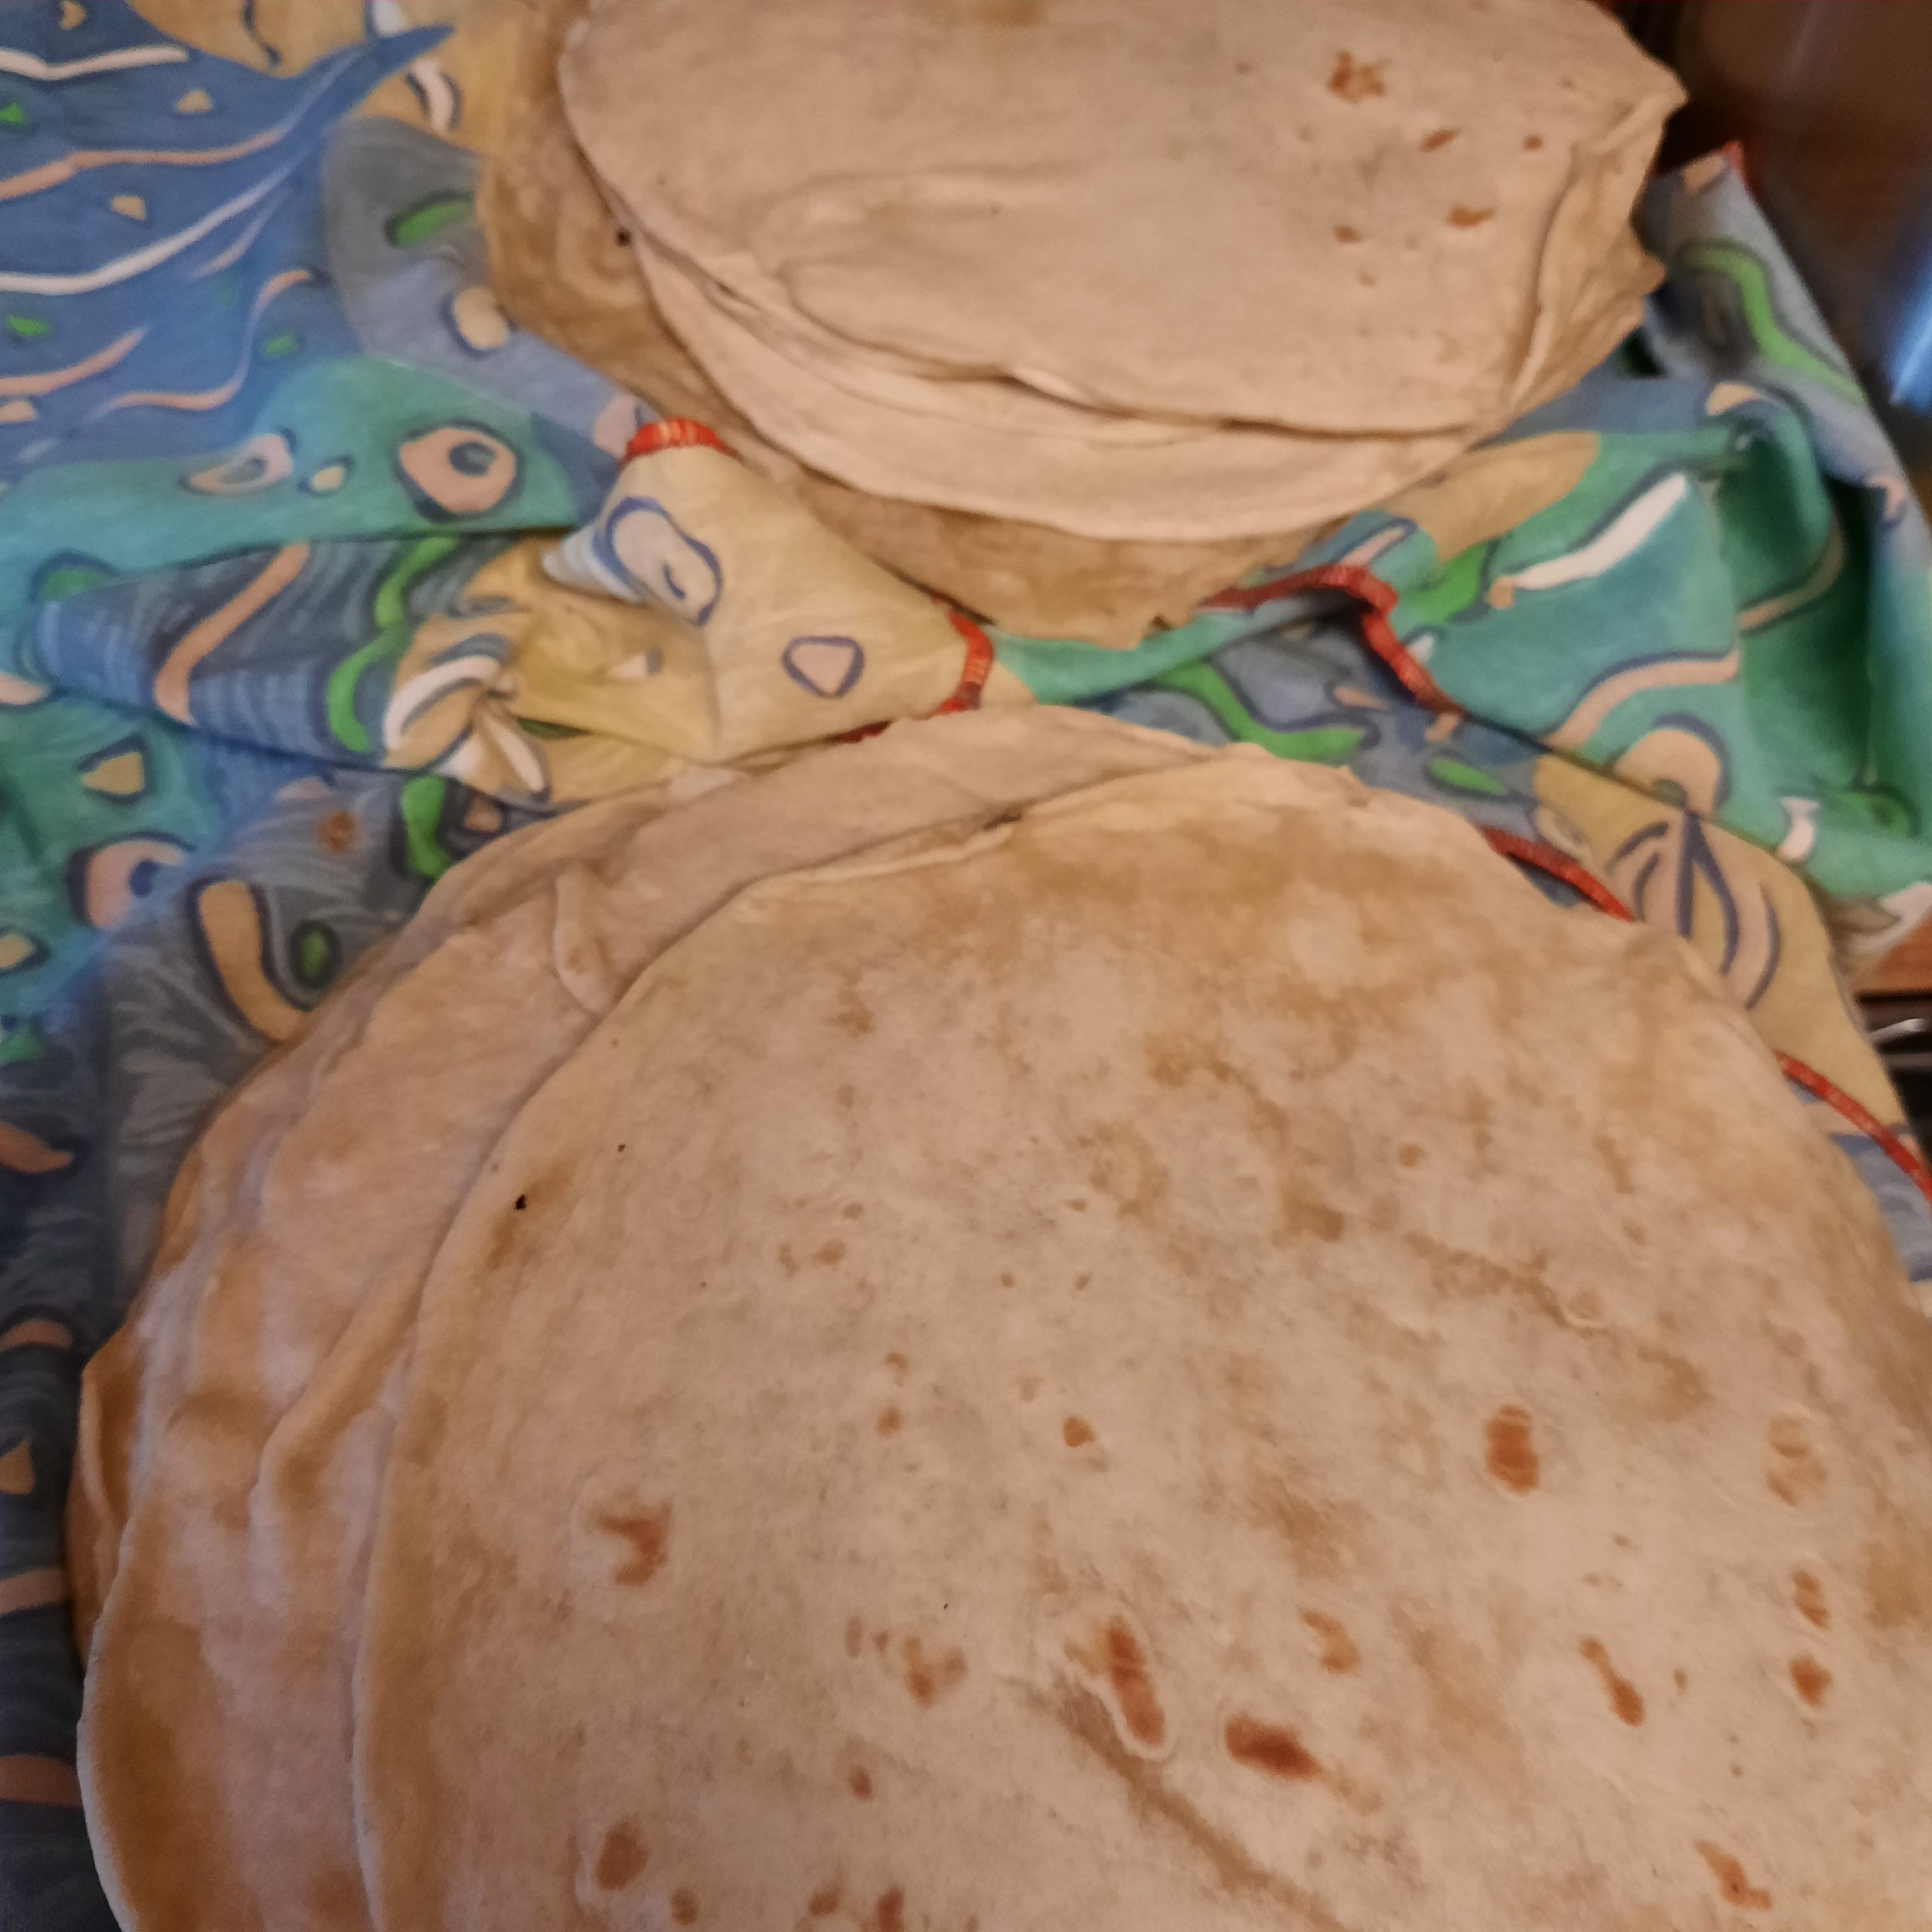
As each Tortilla is ready, remove it from the pan directly to a cloth lined plate and cover with cloth. I use a folded kitchen towel. Serve warm or wait until cooled and put in a large ziplock in the fridge until ready to use.


